Learn how to create and manage tags to organize your subscription plans effectively. This guide walked you through creating, naming, saving, and managing tags within your subscription platform. You learned how to filter, search, and update tags to keep your subscription plans organized and easily accessible.
Introduction: This guide provides clear steps to help you add, search, and update tags with confidence.
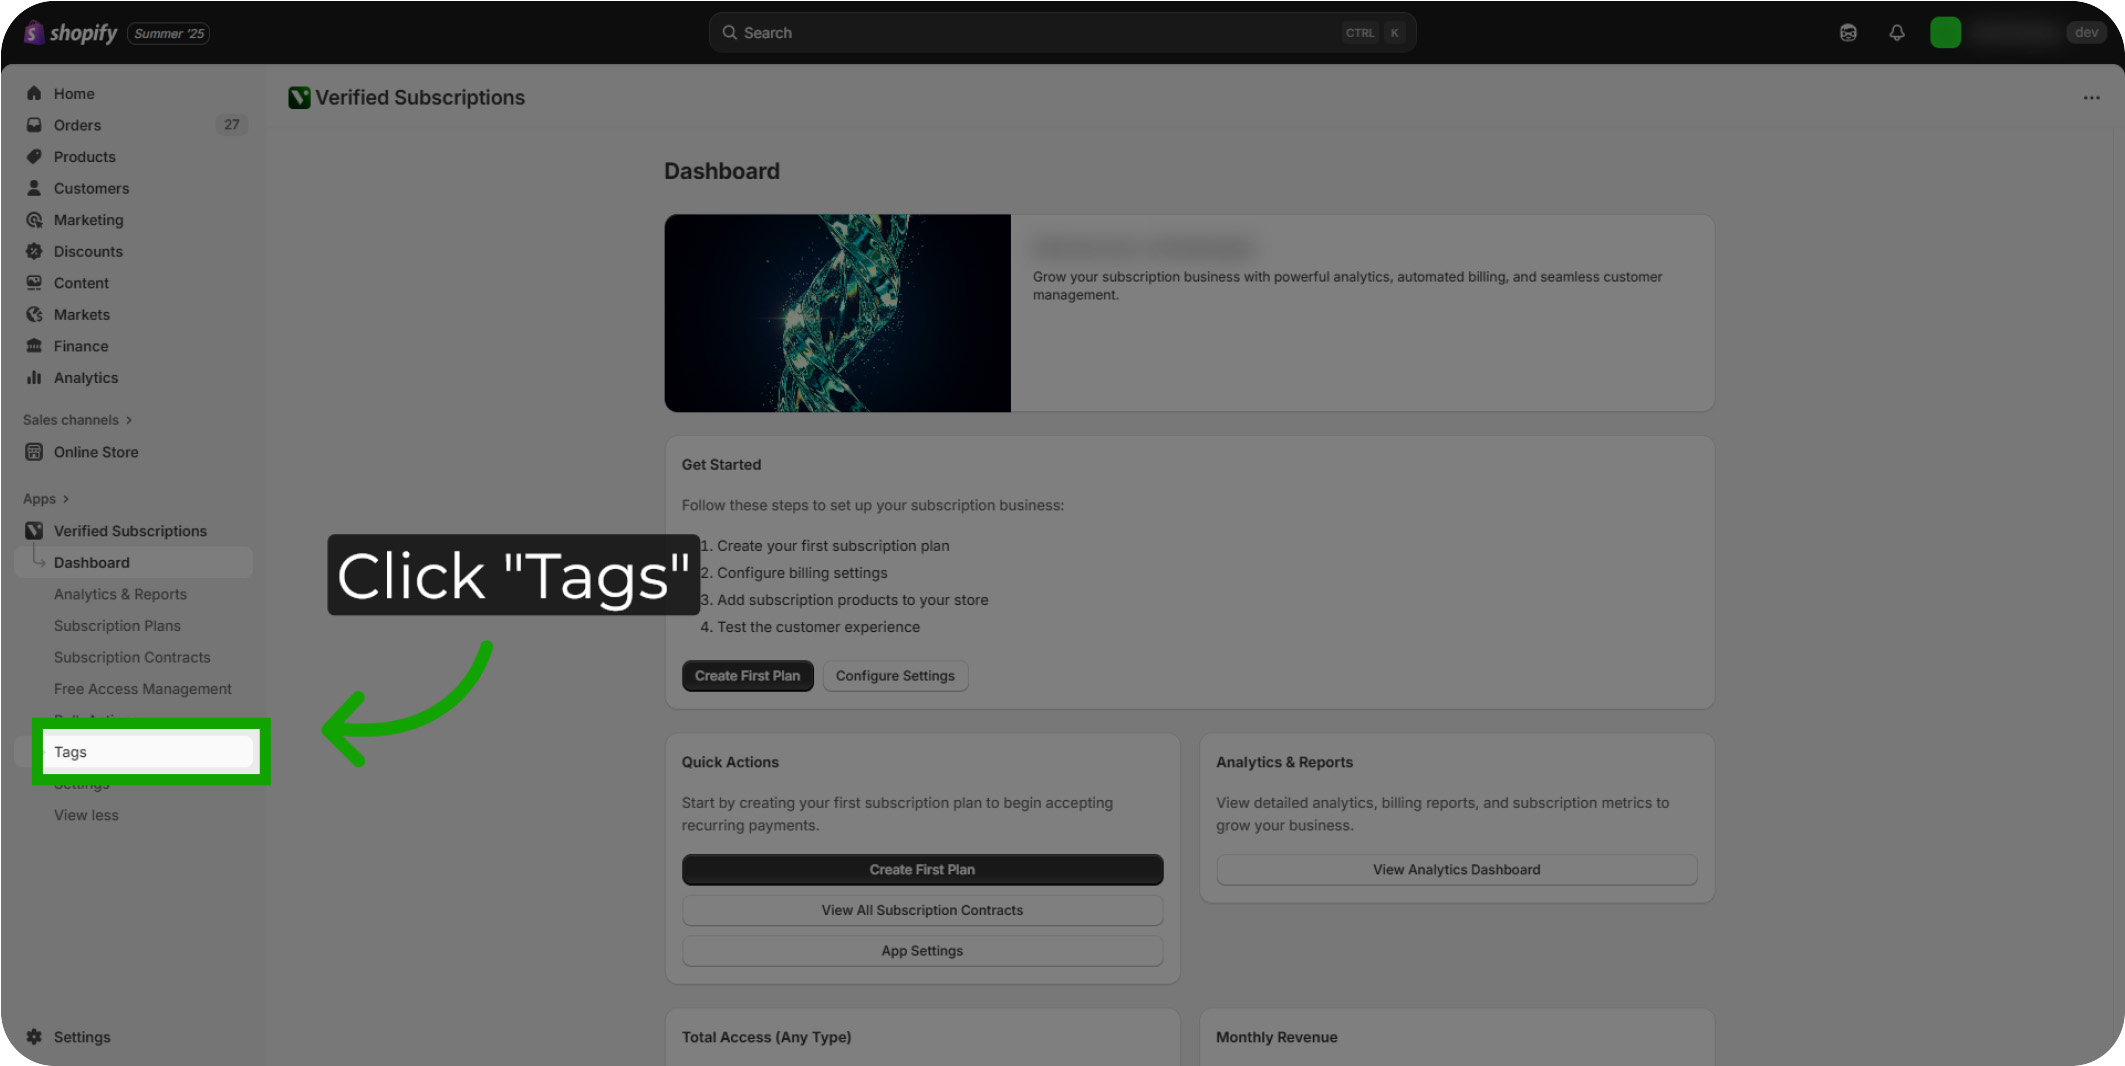
Click "Tags": Locate and select the 'Tags' section to begin organizing your subscriptions.
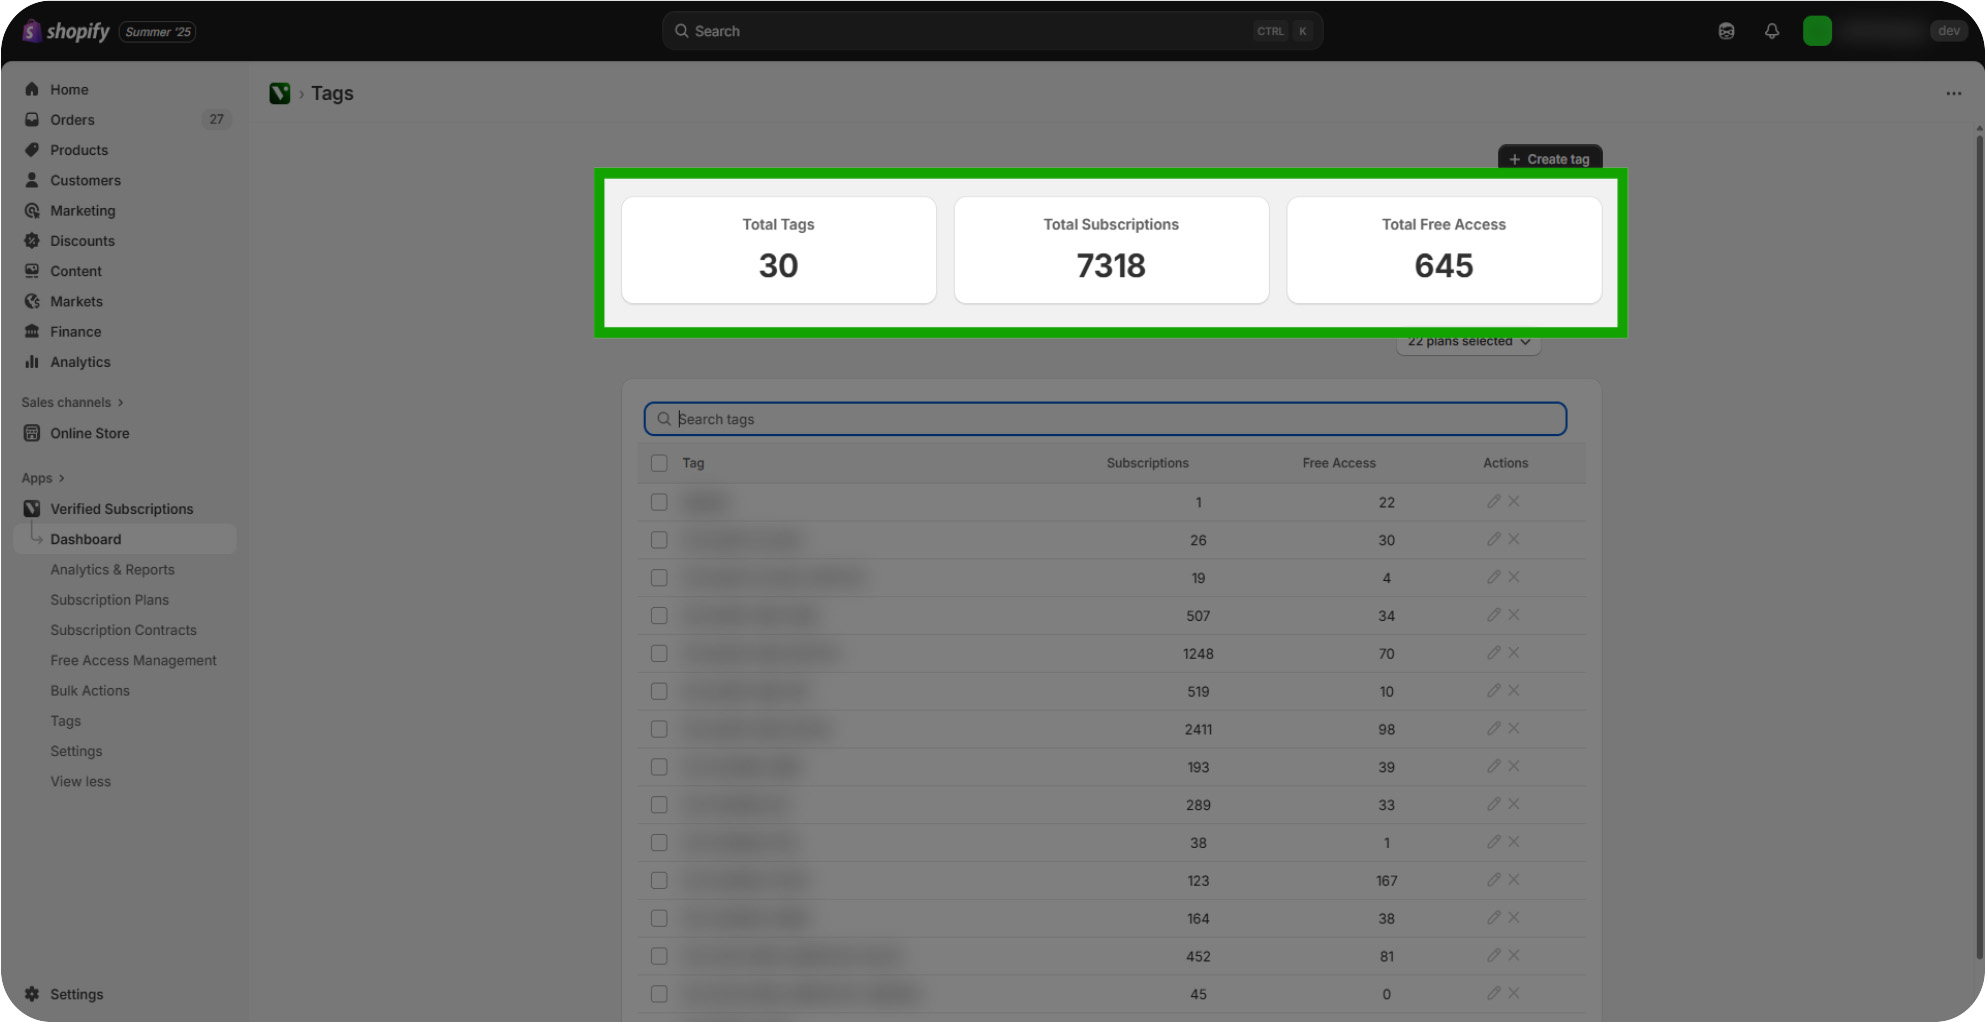
Navigating the Tags section: The Tags section allows you to review all created Tags. You can also review key metrics including how many Subscription Contracts are linked to a Tag, as well as how many Free Access Subscription Contracts are linked to a Tag.
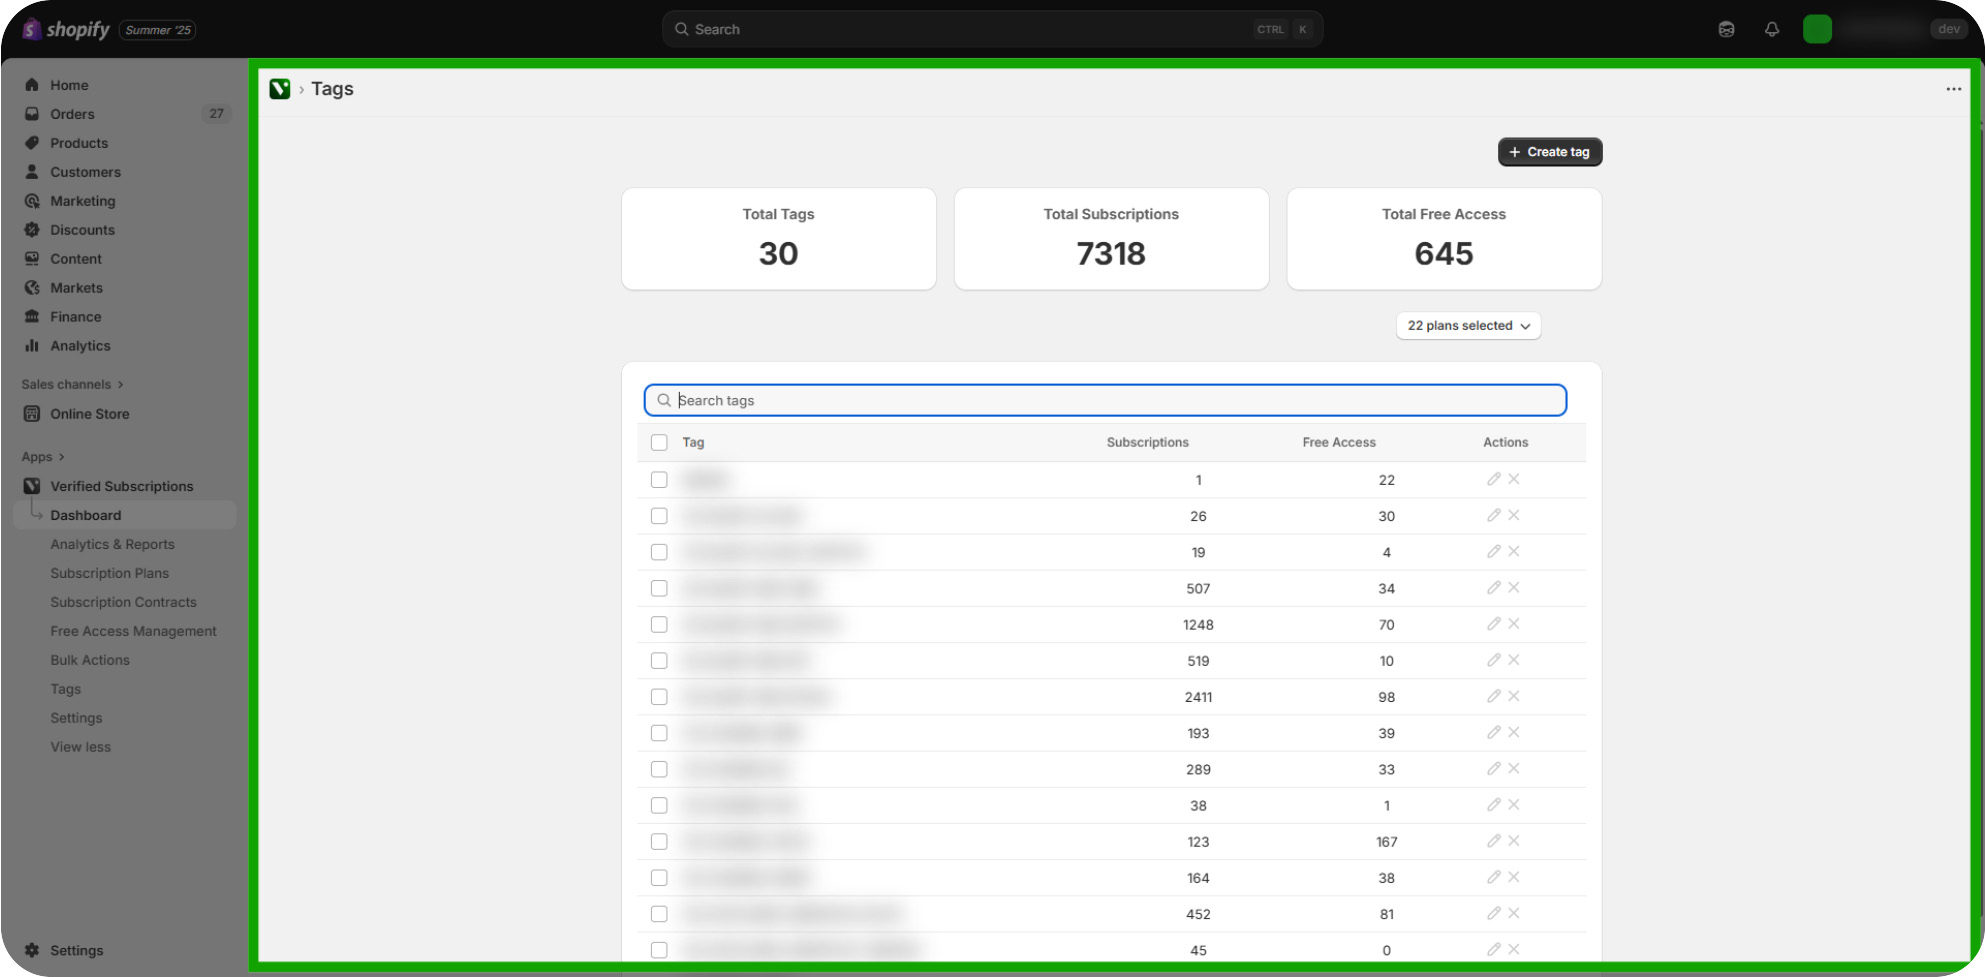
Navigating the Tags section: The Top Bar provides an overview of the total number of tags created, total Subscription Contracts, as well as the total number of Free Access Subscription Contracts for your Store.
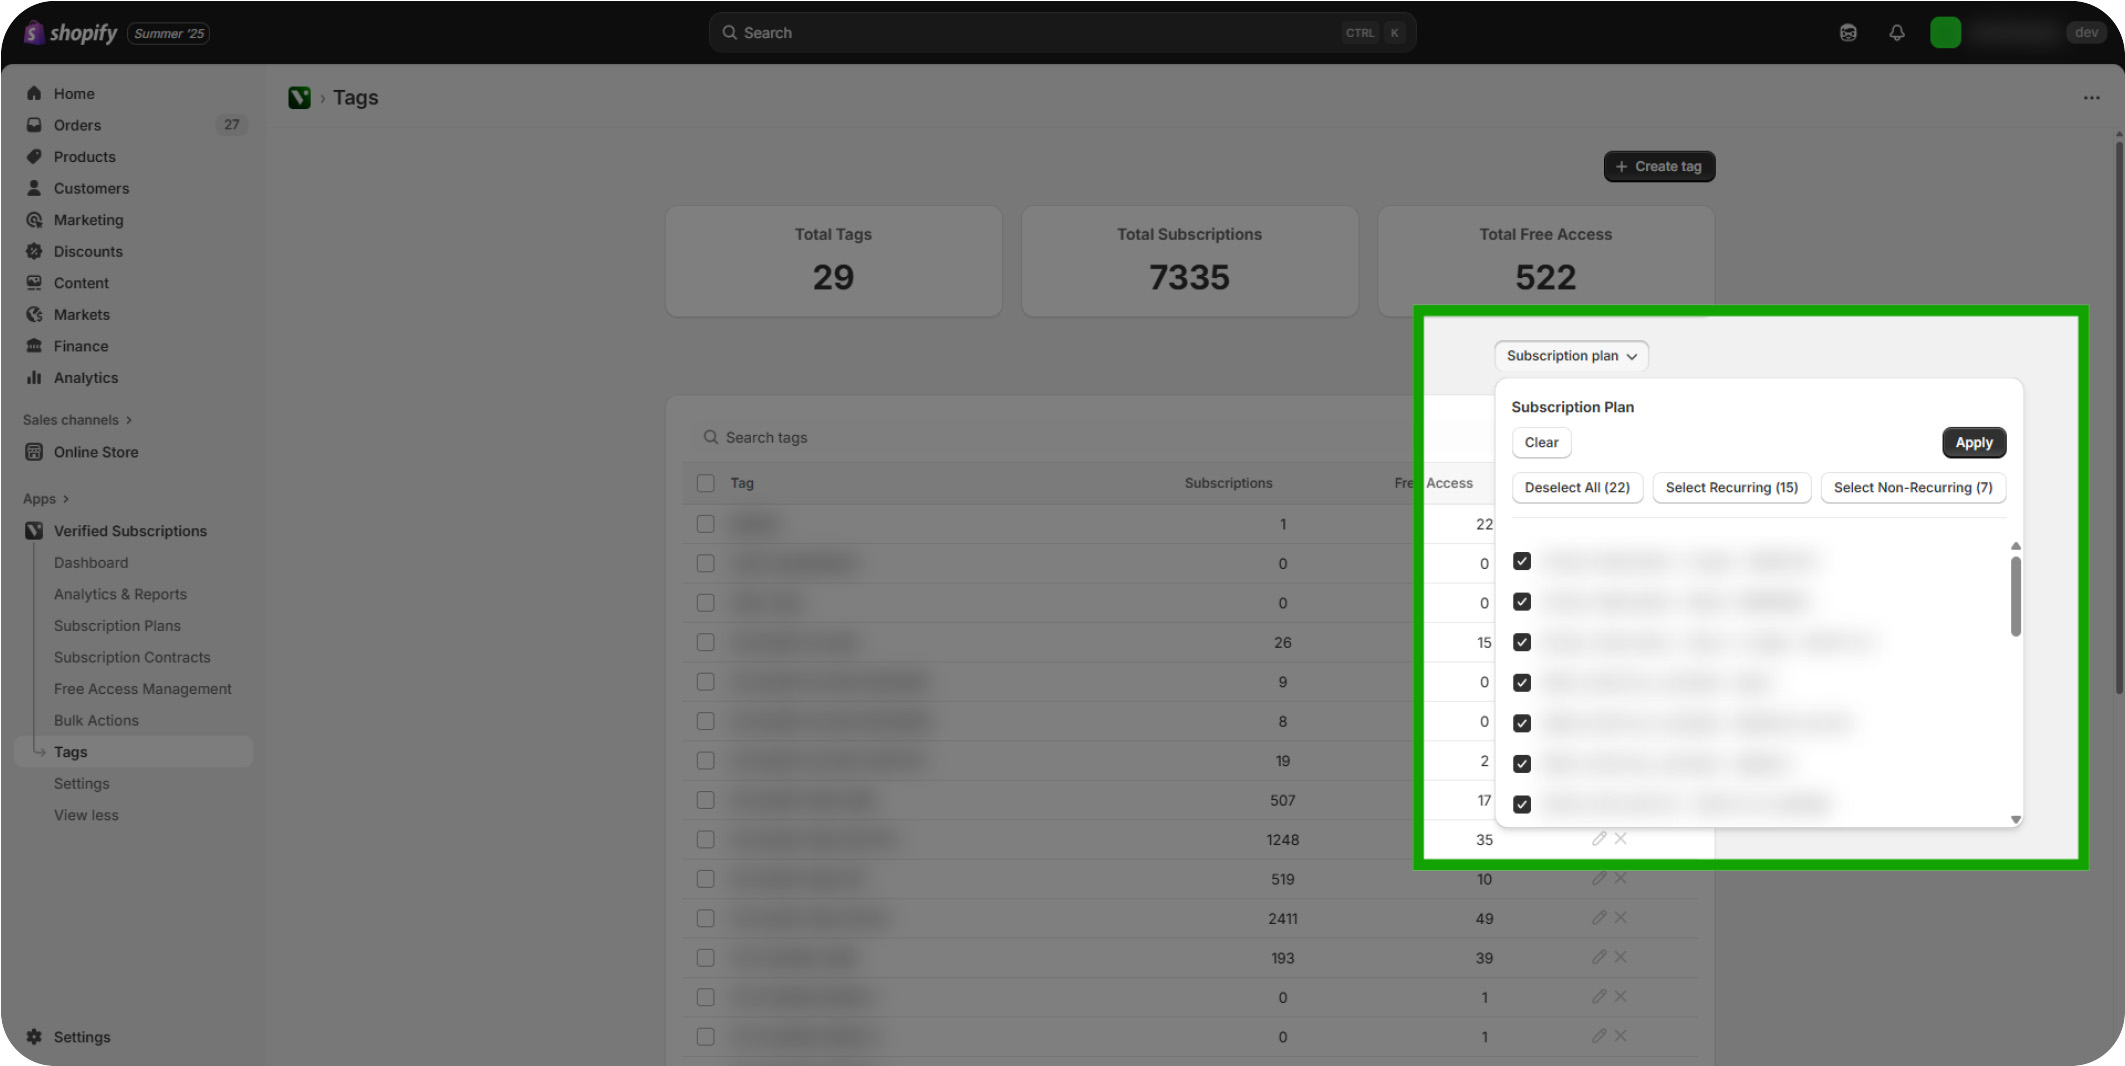
Filtering Tags: Click the "Subscription plan" button to filter the Tags displayed on this page.
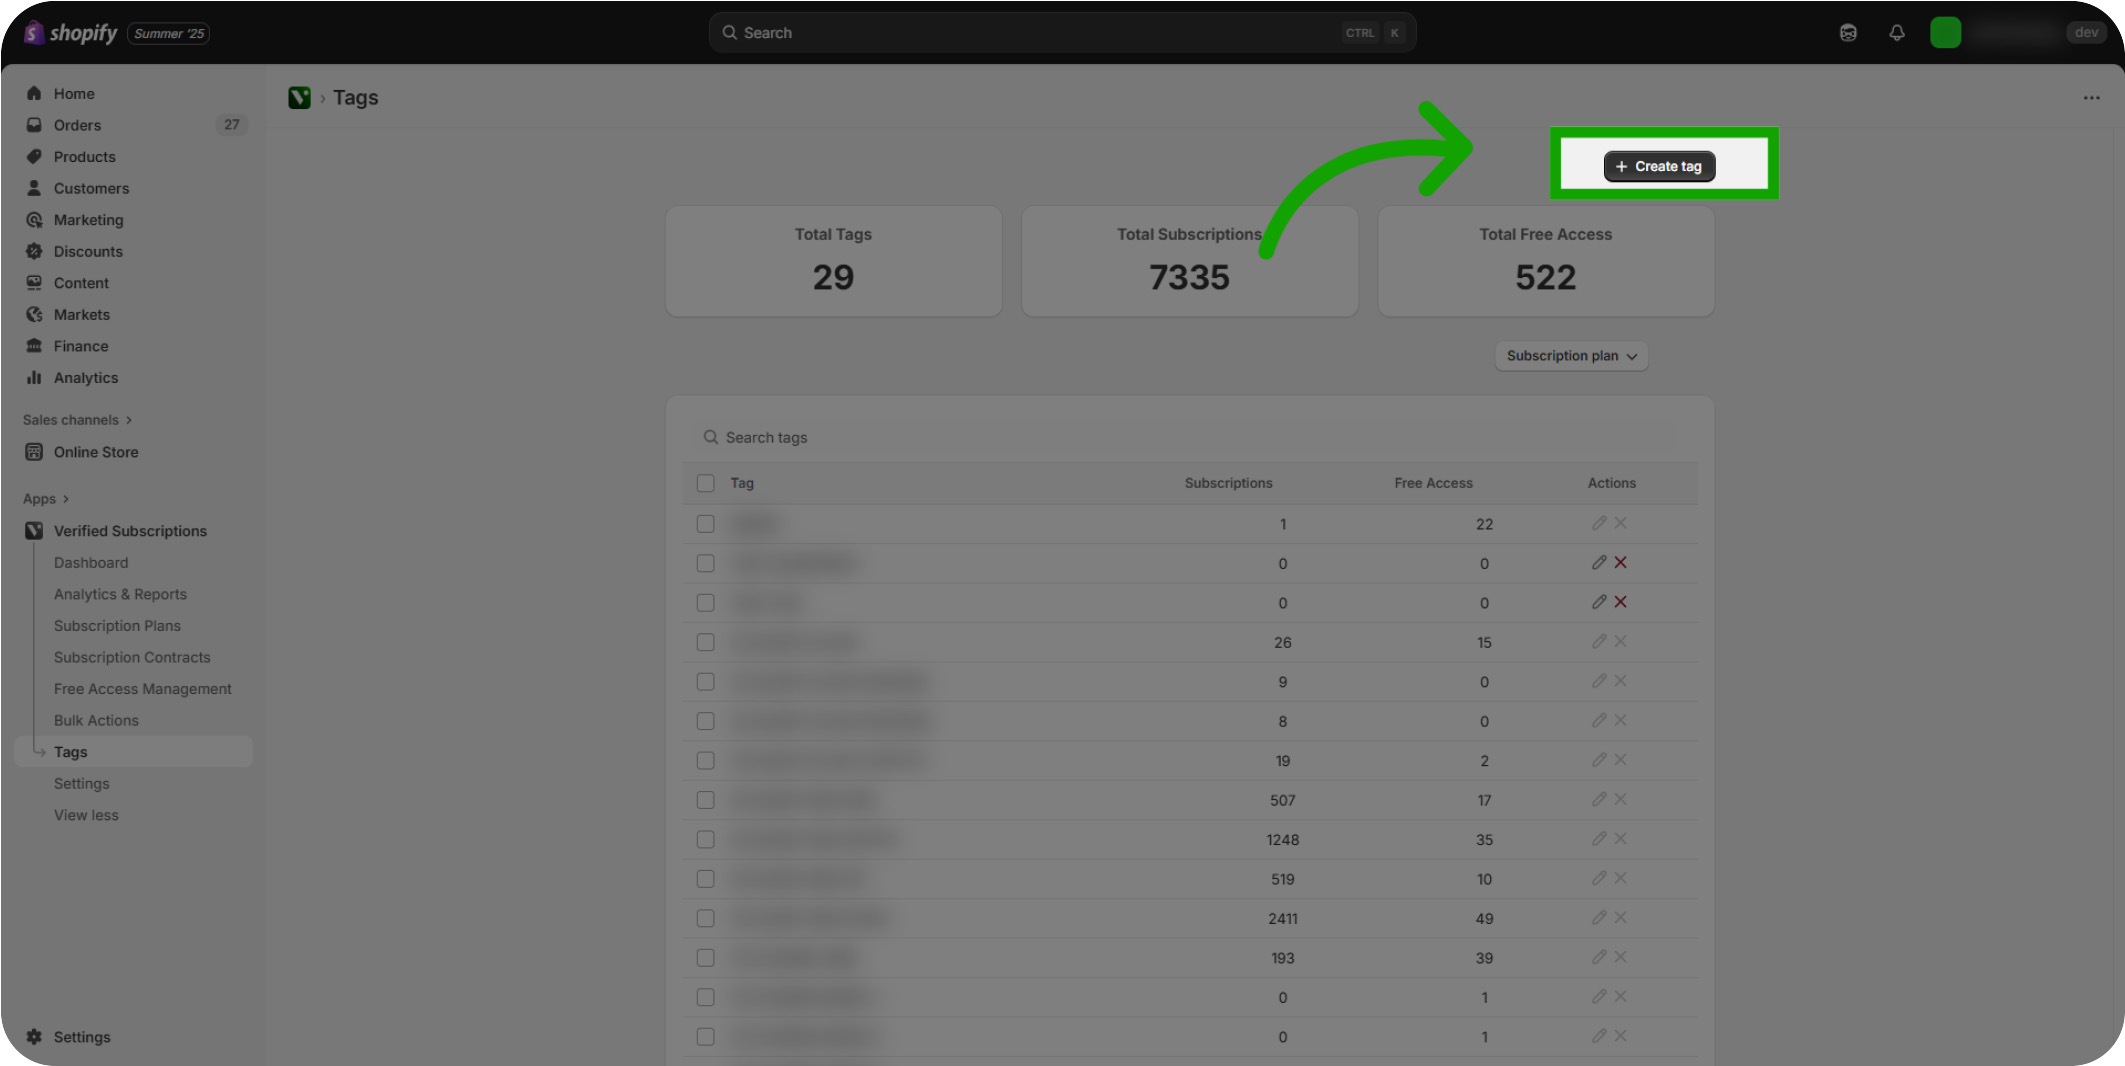
Click "+ Create Tag": Click the 'Create tag' button to start defining a new tag.
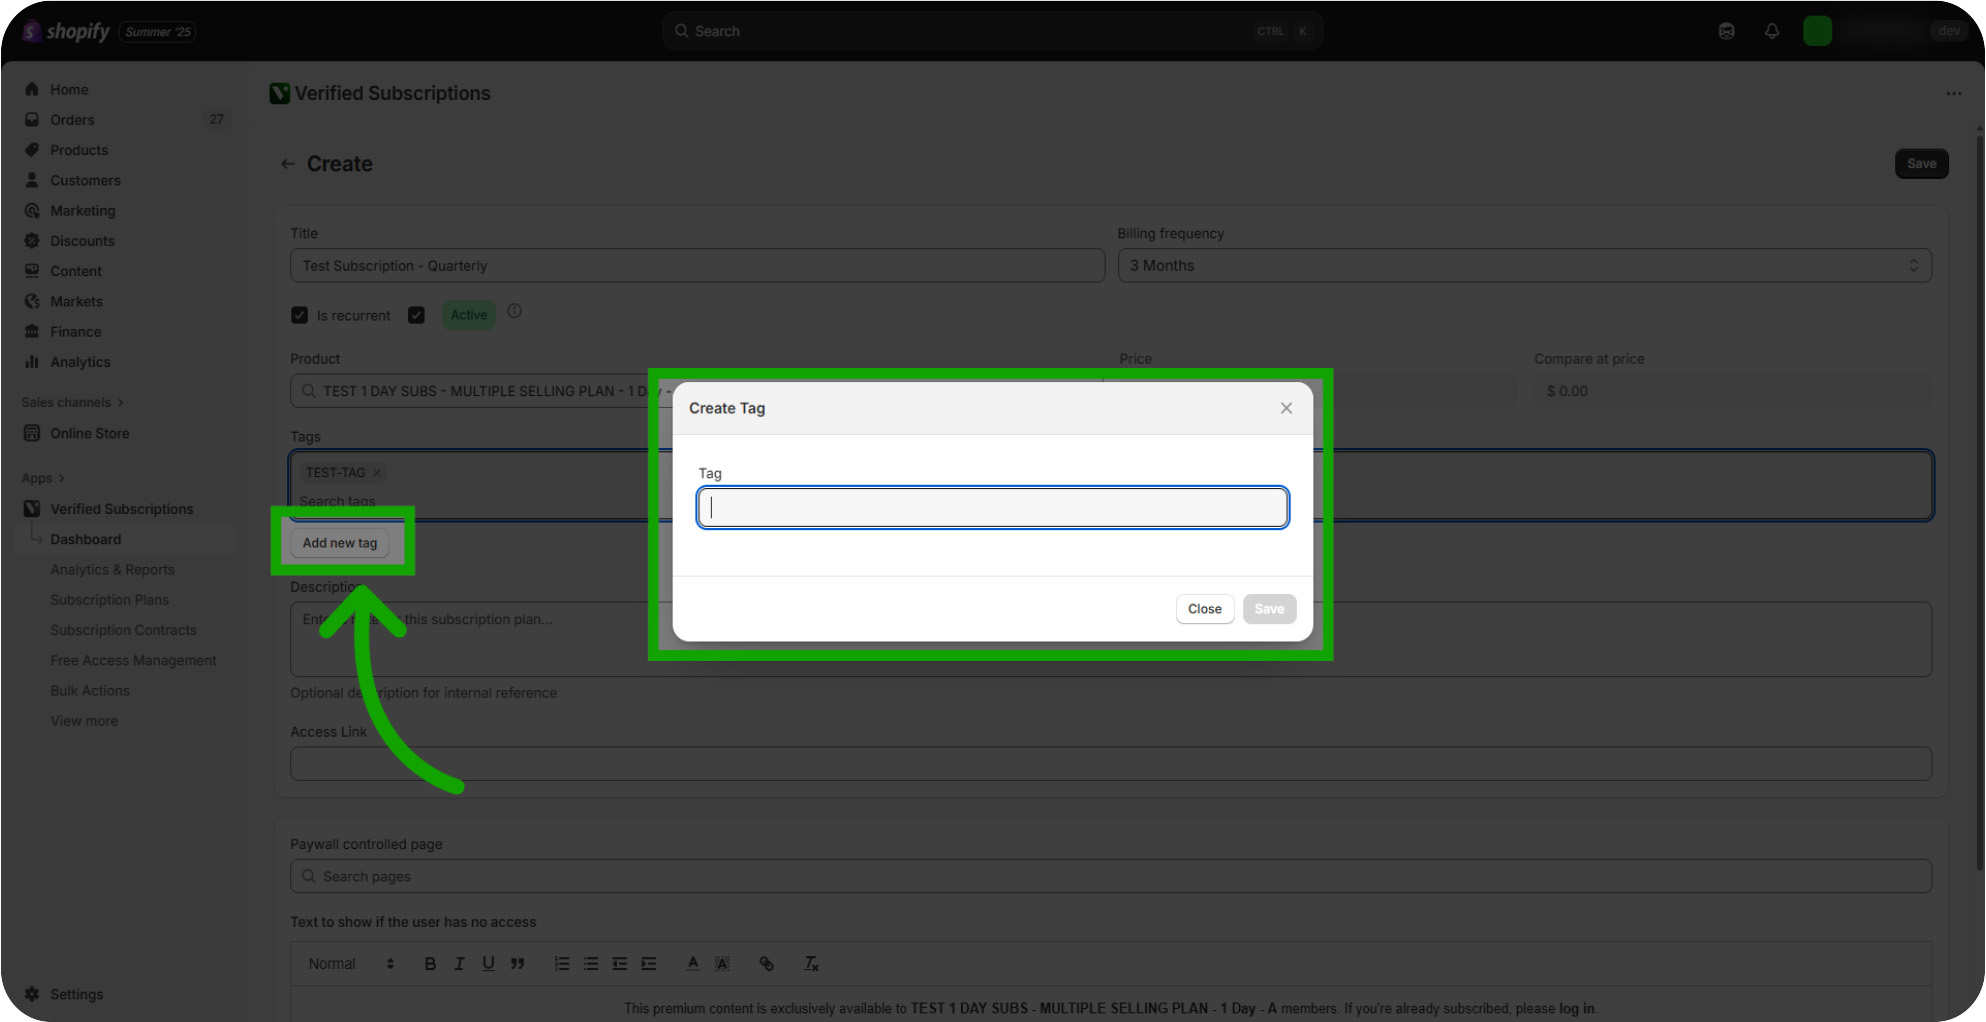
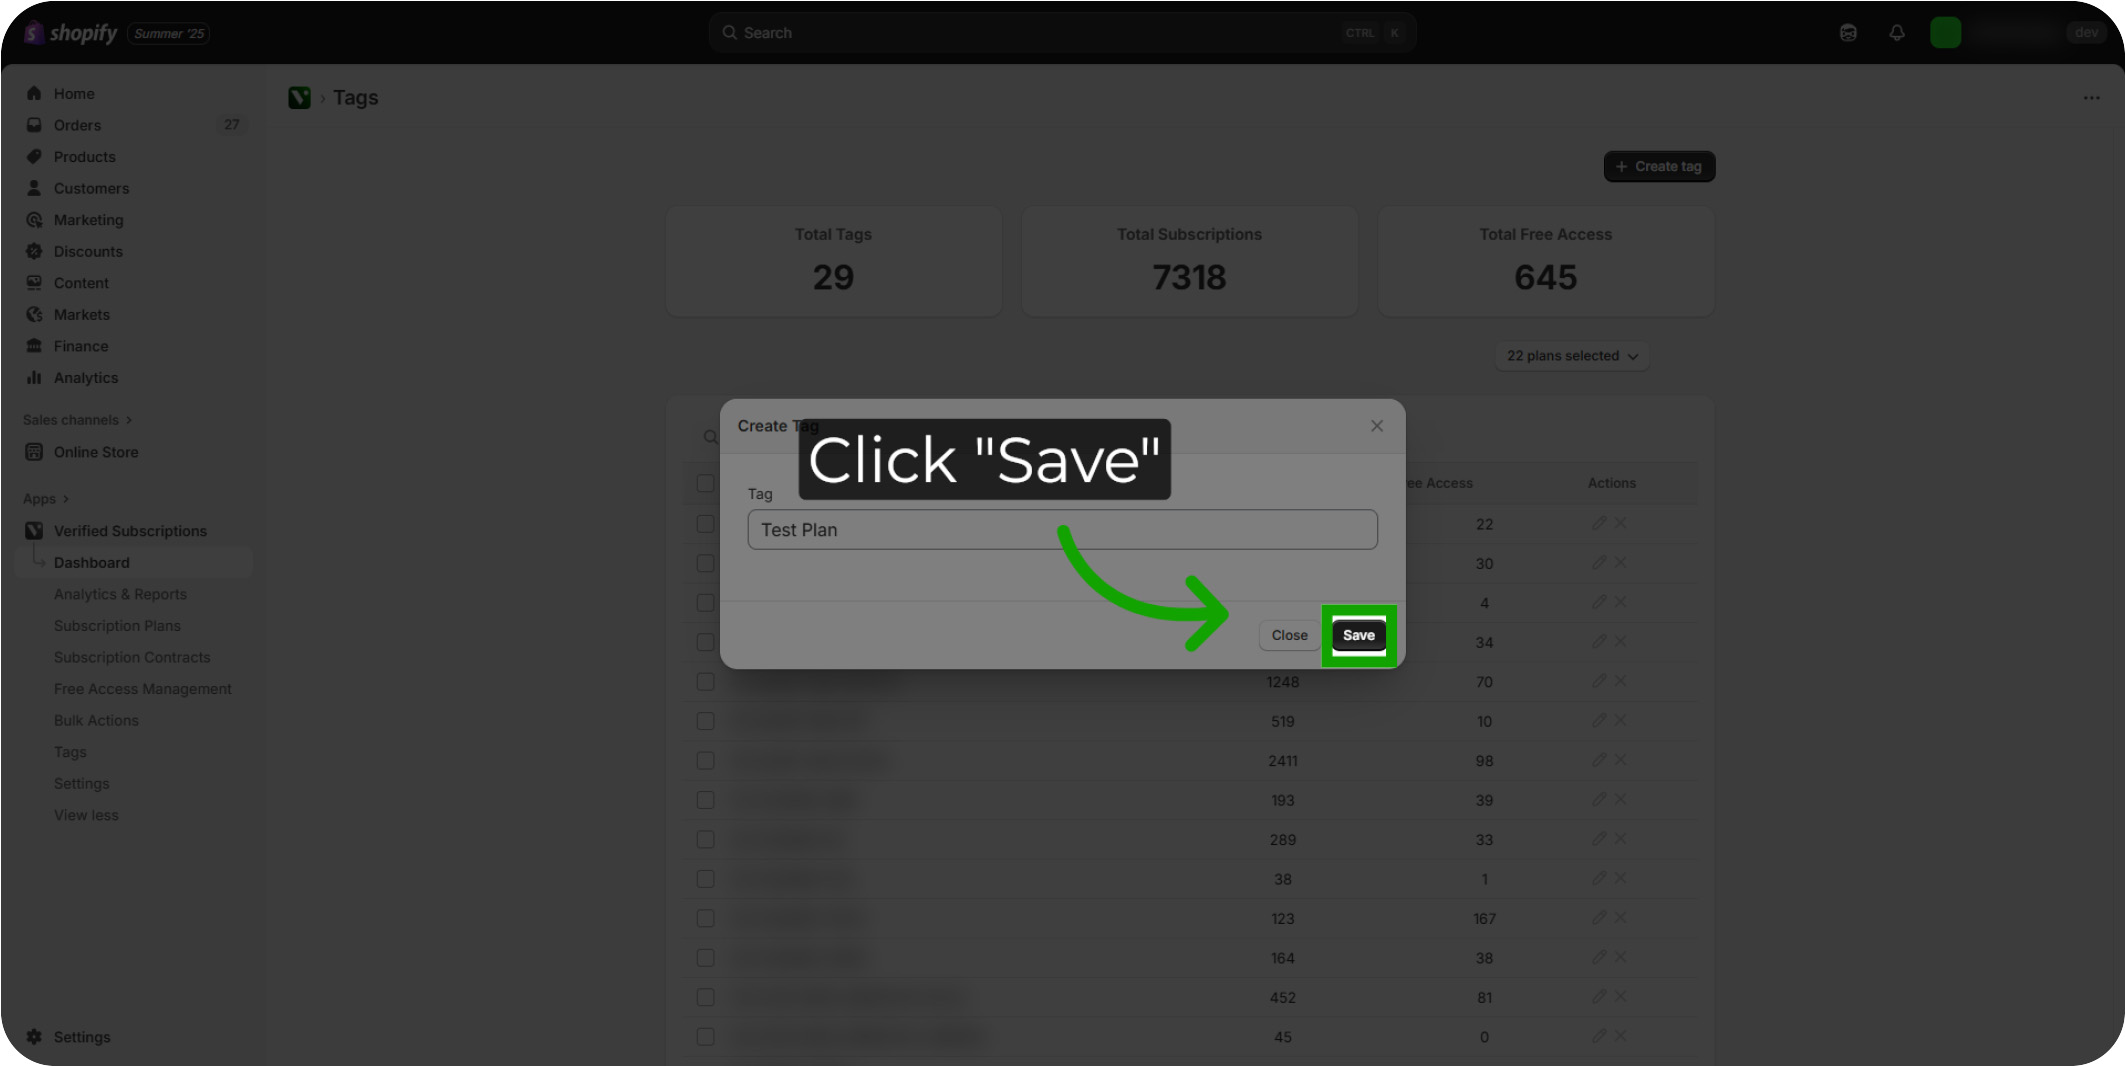
Click "Tag": Select the input field labeled 'Tag' to enter your tag name.
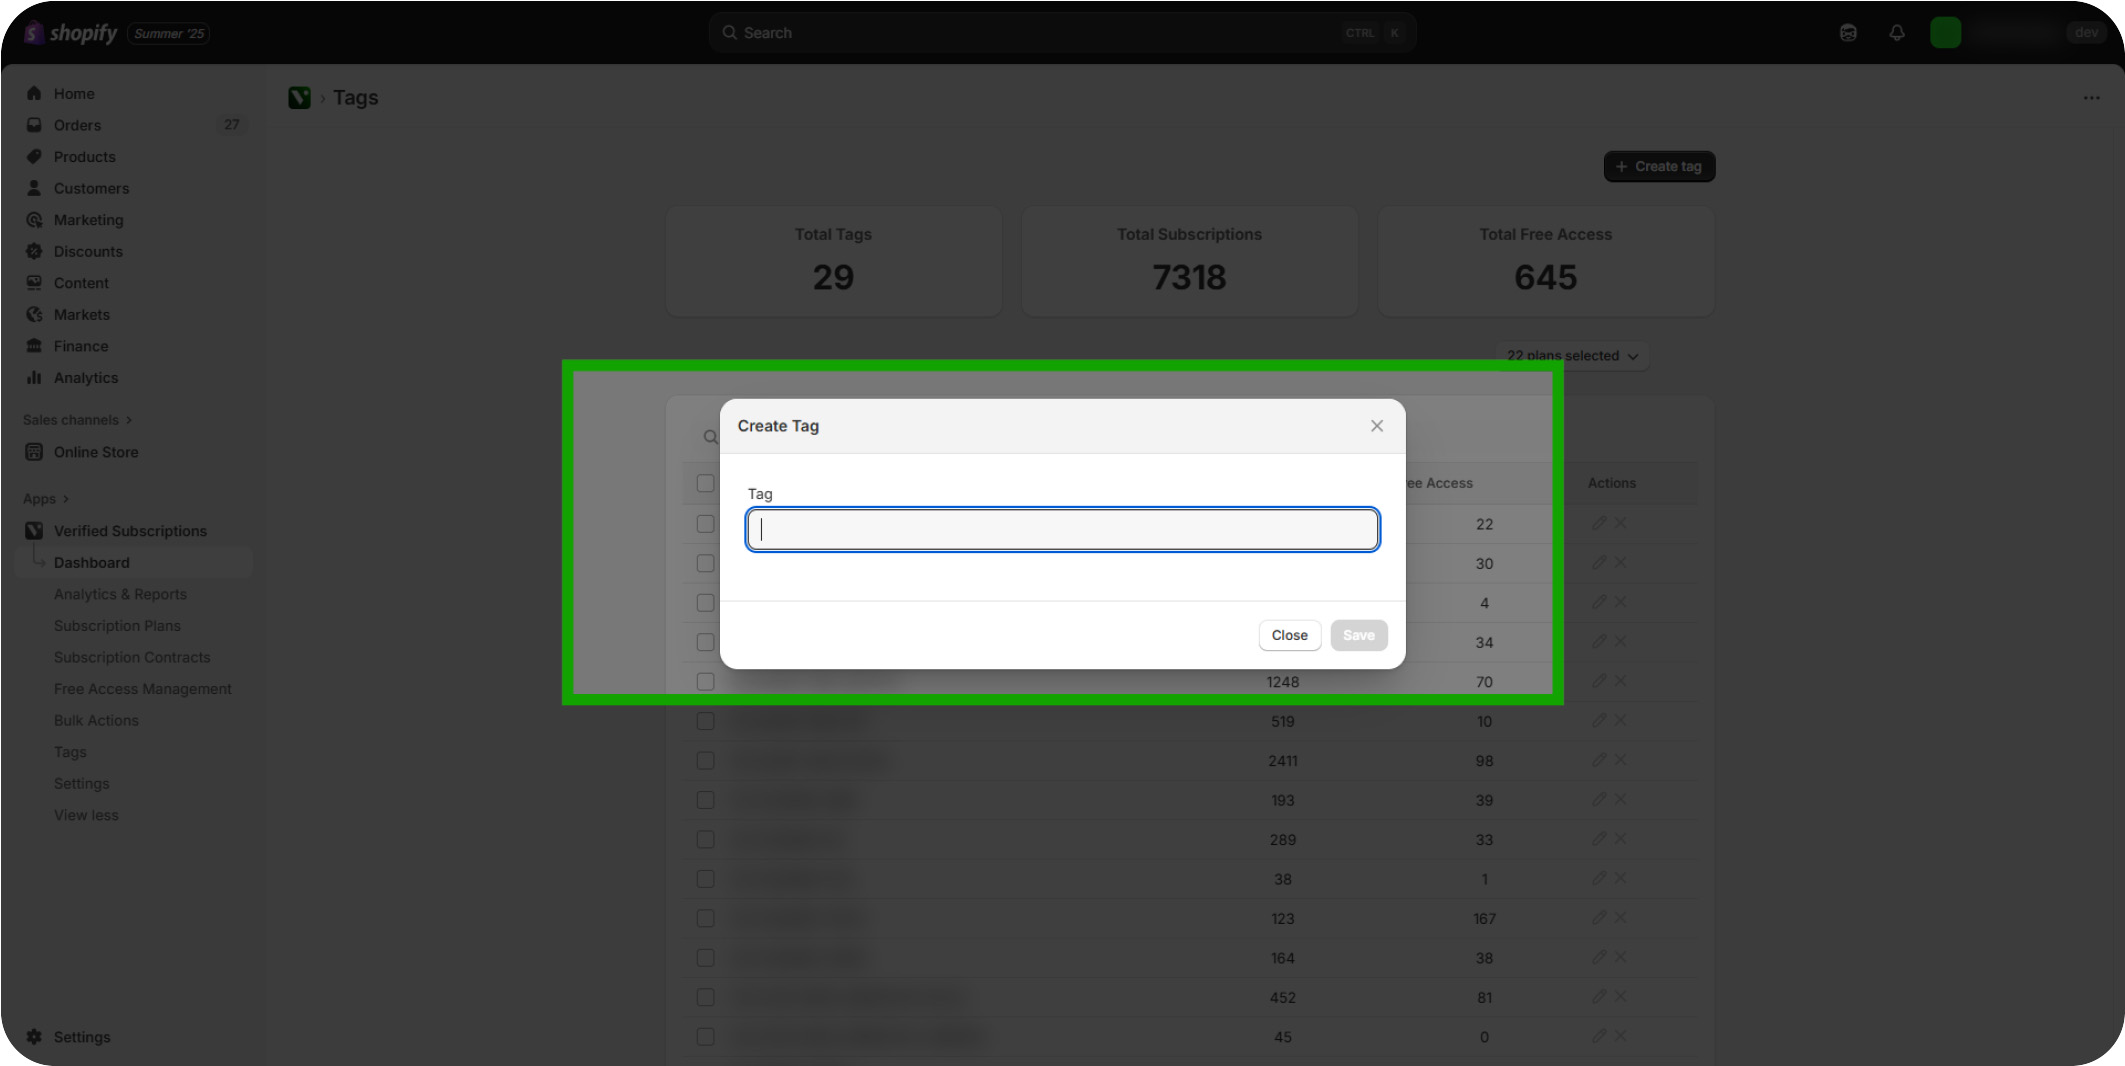
Click "Save": Save your new tag by clicking the 'Save' button to apply changes.
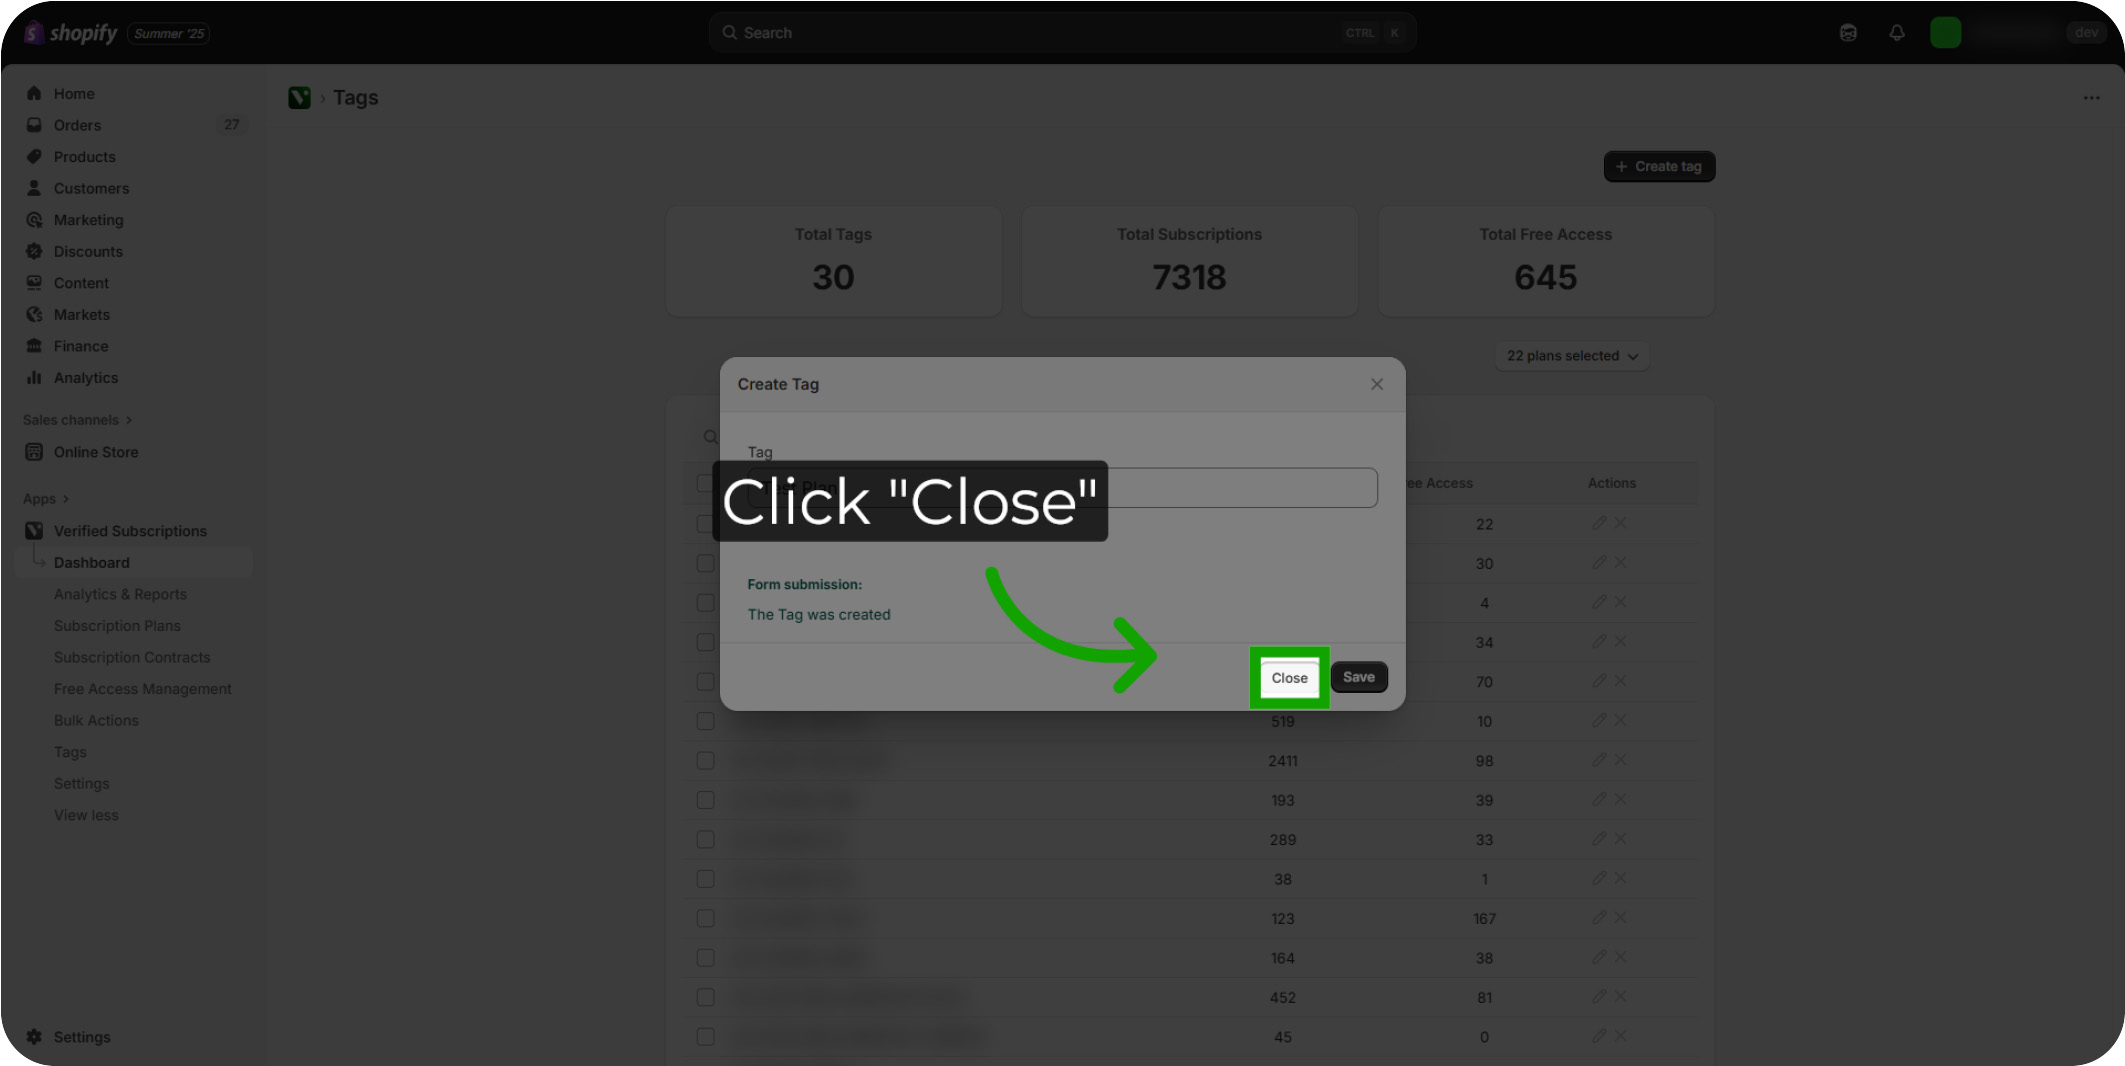
Click "Close": Close any open dialogs or windows to return to the main tag list.
Creating A New Tag: You can also create a New Tag during the Subscription Plan creation process. This can be done by clicking "Add new tag" when creating your plan.